My method
Luxury is the time given to every detail.
You’ve looked after every detail of your space: materials, colours, lighting. I photograph it with the same care, one photograph at a time. Here you’ll find how I work and how much work goes into every image I deliver.
01 · Light
Double bracketing: ten shots, one photograph
For every frame I do a double bracketing: five shots with the lights on and five with the lights off, at different exposures. The first set records the designed lighting and how it shapes the volumes. The second, natural light and its softness.
Then I blend them by hand, area by area. In the same photograph you can read the interior, the view through the windows and the atmosphere designed for that space, from the highlights to the deepest shadows.
Usually you have to choose: either the lamps are switched off, or the light from the windows burns out. I keep both. I’ve explained how blending works in a blog article (in Italian).
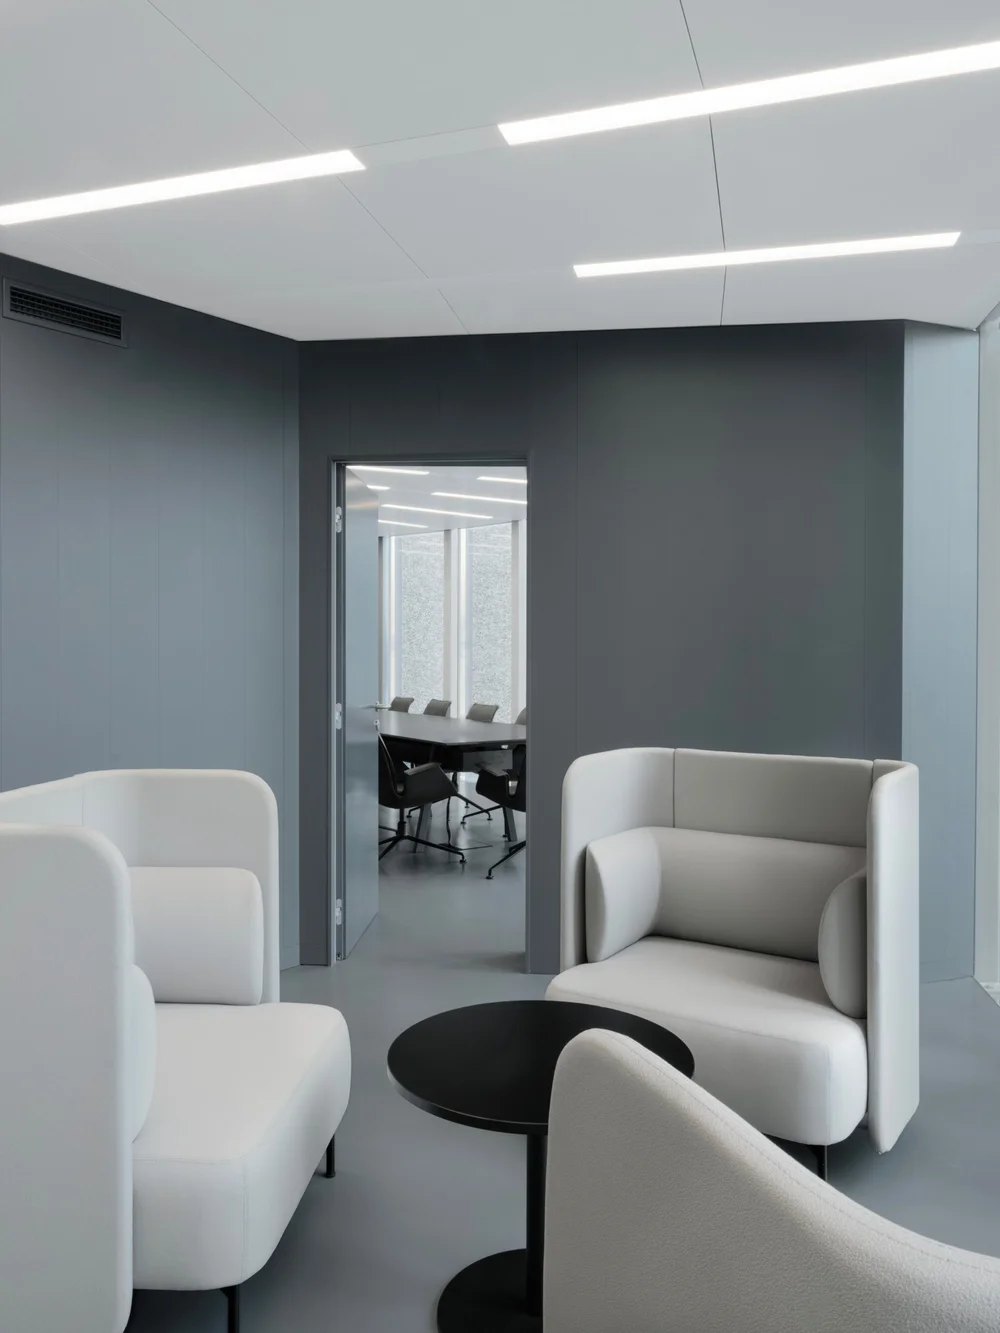
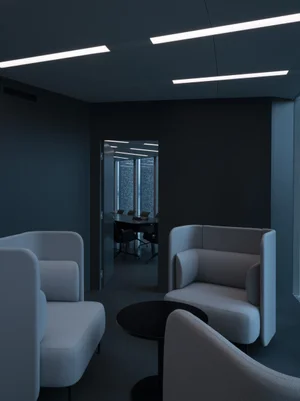
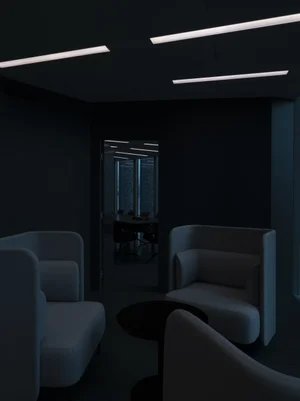
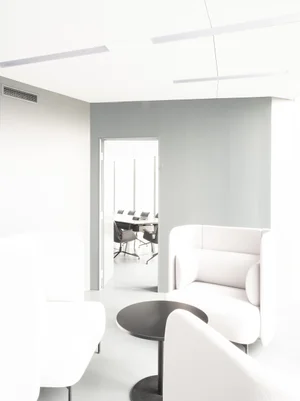
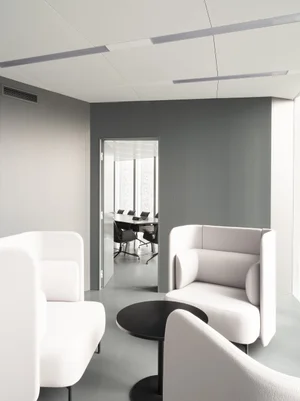
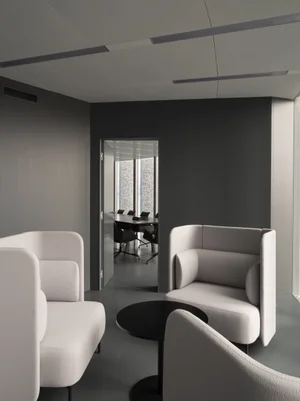
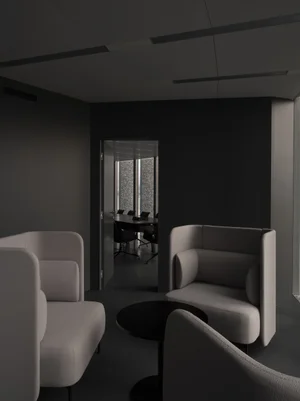
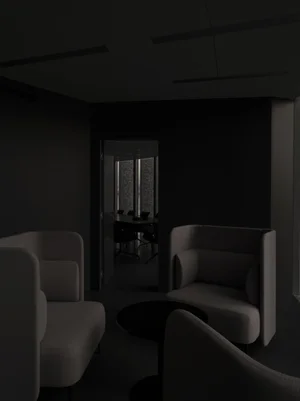
The ten starting shots: five with the lights on, five with the lights off.
02 · Mixed light
Each light source handled on its own
Warm lamps and cool daylight together tint walls and fabrics. In post-production I work on separate layers and handle each source on its own.
Whites stay white, with no colour cast, and the room doesn’t go flat: the lights keep shaping volumes and materials the way you see them when you’re standing there.
03 · Colour
From RAL to pixel
Colour is part of the design. At the Alperia headquarters in Merano, designed by Studio Cecchetto & Associati, the office walls are RAL 7011.
On site I photographed a colour checker, converted the code to RGB (82, 89, 93) and adjusted the white balance until the wall in the photo gave the same value: an exact match between the finished building and its photograph.
If you give me the RAL codes of your project or your products, I work the same way. With cool windows and warm lamps in the same room a perfect match isn’t always possible: in that case I keep the colour you see when you’re standing there.
04 · Material
Detail that holds up when enlarged
I shoot in medium format: 50-megapixel files and tilt-shift lenses. For you that means two things.
Verticals stay straight. And concrete, floors, fabrics and metals keep their texture even when enlarged: on a magazine page, in a catalogue, on a large print for a trade fair.
05 · Time
What goes into a finished photograph
Behind every finished photograph there are about two hours of work at the computer. The file of a single image holds 30 to 50 layers: the ten shots, the hand-made masks, the colour corrections area by area.
It isn’t retouching. It’s the work needed for light and space to look the way they do in real life, and for the images to live up to what you’ve invested in the project.
That’s why a shooting day produces 40 photographs at most, and delivery takes 10–15 working days.
What you end up with
Architecture and interior design studios
The project looks the way you conceived it, with its light, its colours and its materials. Files ready for magazines, competitions and your portfolio.
Hotels and B&Bs
Guests find the room they saw in the photos, view from the windows included.
Companies and contractors
In the photos your products have the colour and finish they have in real life, from the catalogue to the trade-fair stand.
Want to see if my method suits your project?
Let’s talk for 15 minutes, no strings attached.